Introduction to the Page Builder
Using the Page Builder, you can build any type of landing page inside an intuitive drag and drop interface. Let’s take a look!
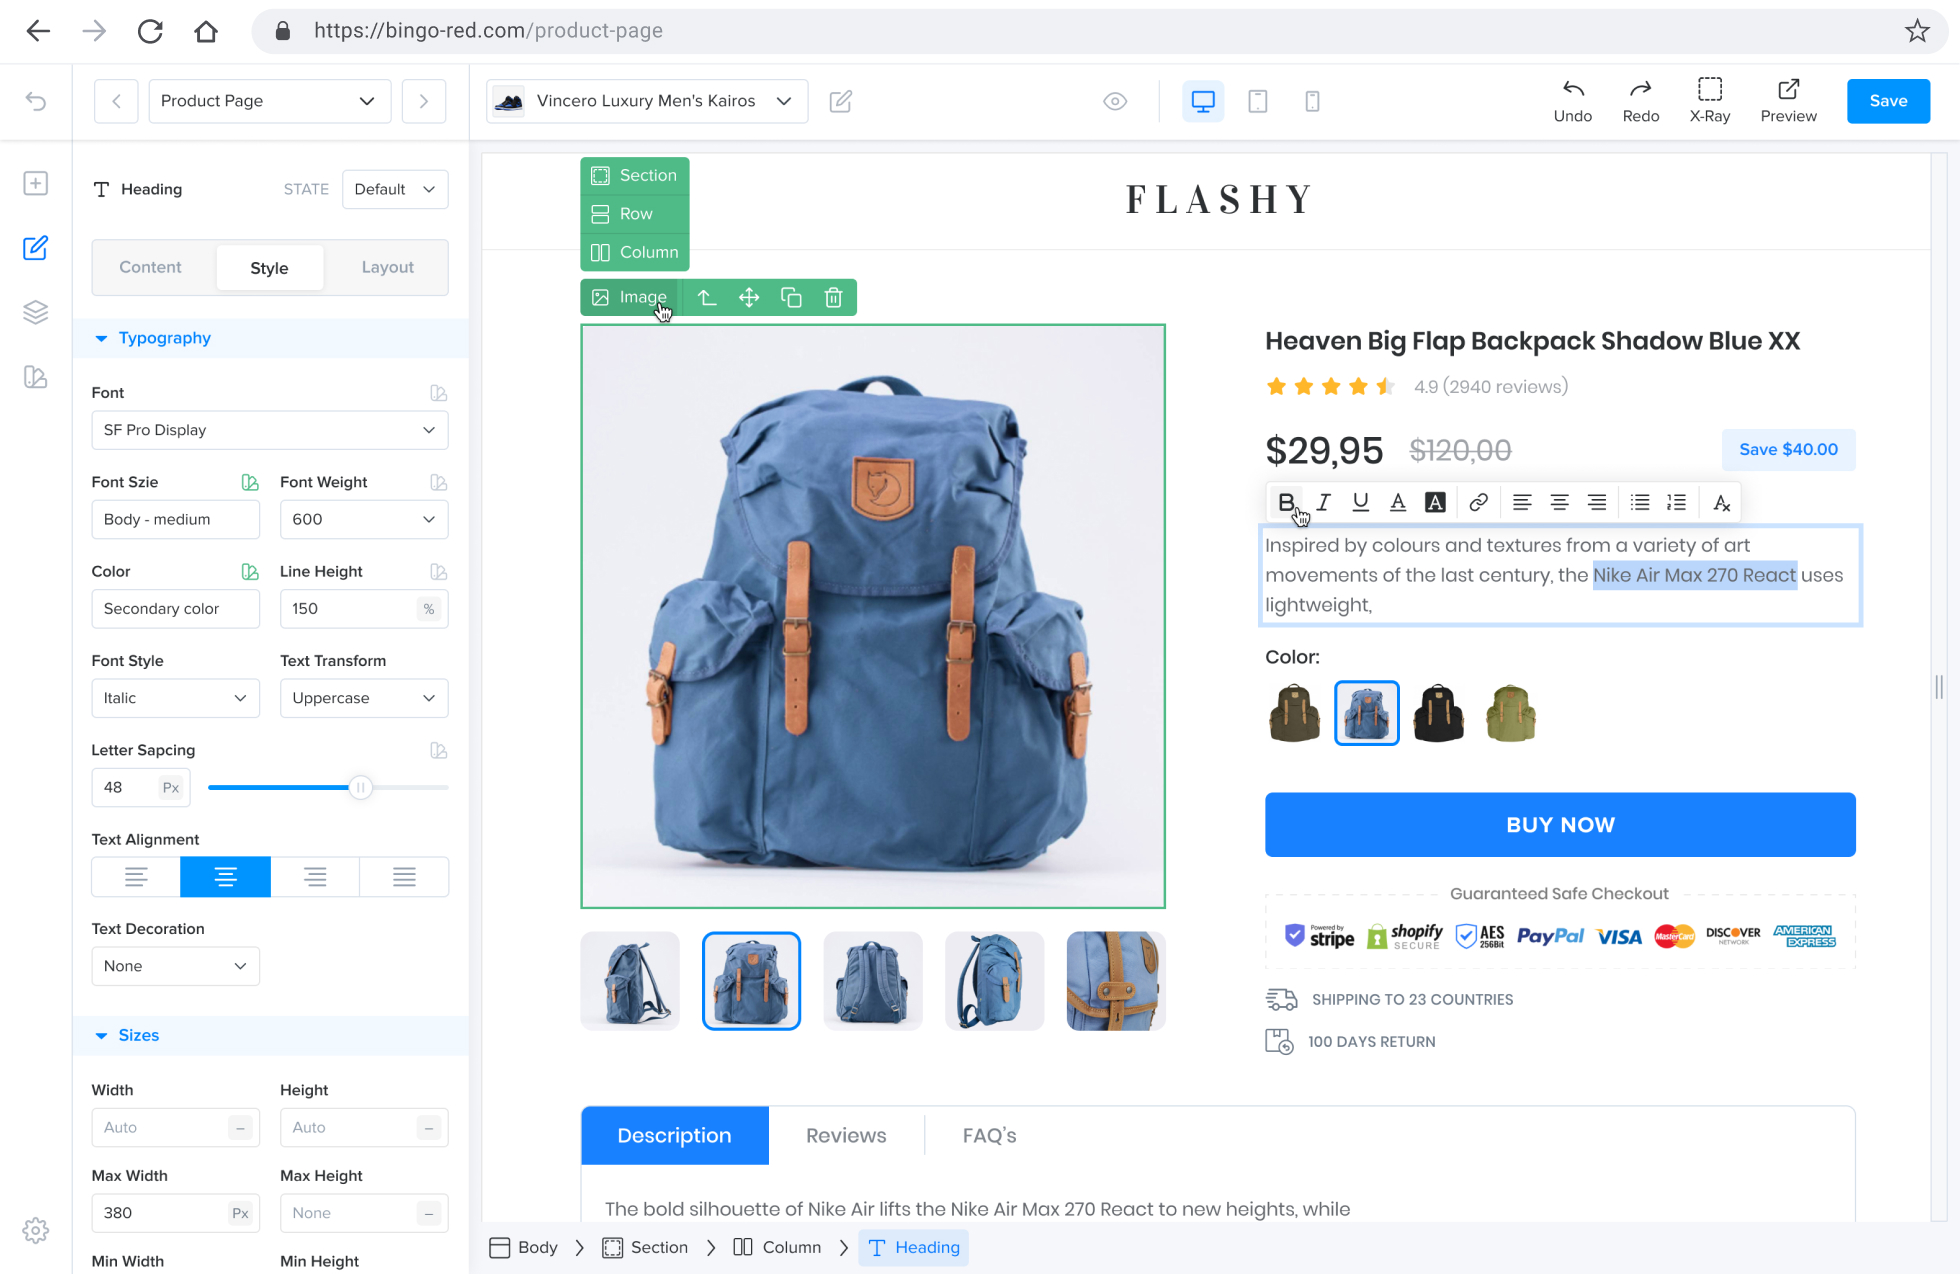
LightFunnels Page Builder
To access the Page Builder, open a funnel and click on the page that you want to edit. The builder has 3 main areas.
- The sidebar
- The top bar
- The content area
The Sidebar
Section titled “The Sidebar”There are 5 different sidebars that you can access by clicking the icons on the left side.
- Add
- Edit
- Layers
- Styles
- Contents (only in Simple mode)
You can also click Settings to open the page settings, Issues to see problems found in your funnel, Shortcuts to see the keyboard shortcuts and Help to access help options.
To hide the sidebar, click the double arrow at its top right corner.
Add Elements
Section titled “Add Elements”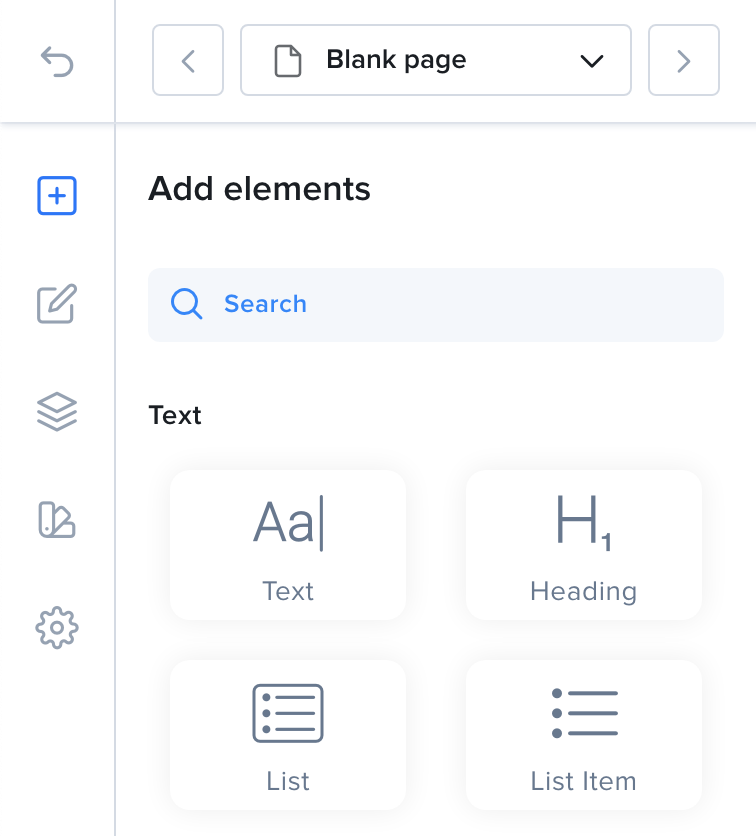
Add Elements Sidebar
On the Add sidebar, you can choose from a large set of elements that you can drag and drop onto your page.
Elements are grouped into categories. You can learn more about each element on the Page Elements page.
To add an element, simply drag it and drop it wherever you want inside the content area.
Edit Elements
Section titled “Edit Elements”To edit an element, select it on the content area by clicking it. Its settings will appear on the Edit sidebar.
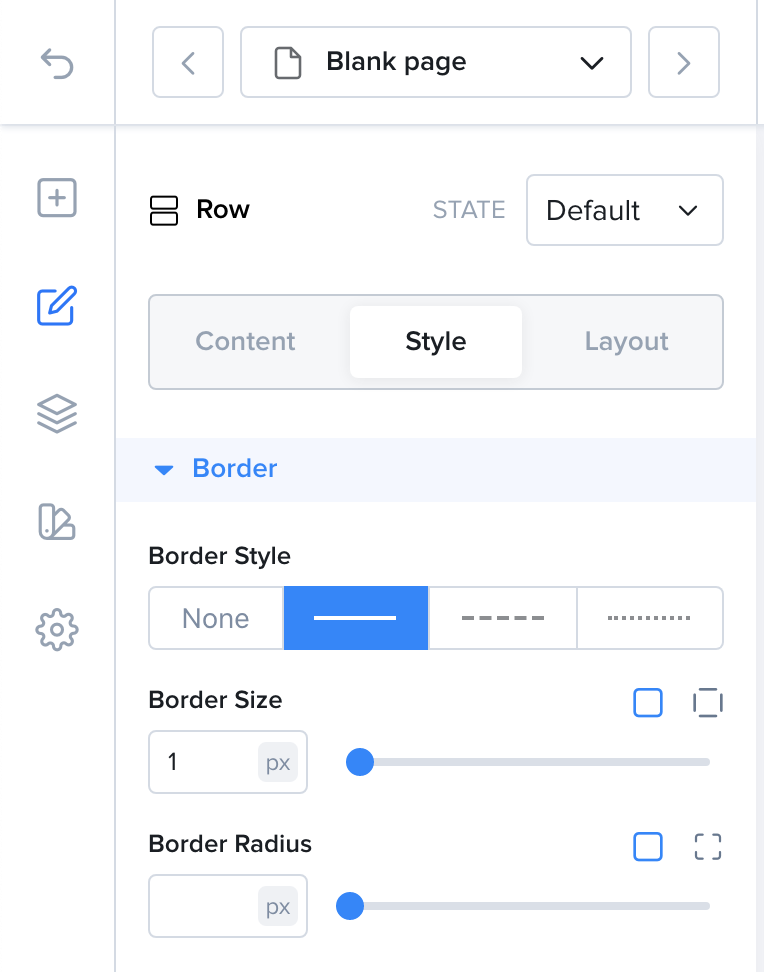
Editing an element on the sidebar
The element options are split in two tabs:
- Settings - The element content and options, such as its text, link or data binding.
- Styles - The element look, such as its spacing, colors, borders and sizes.
By default, the builder uses Dual sidebars. The Settings show on the left and the Styles show on a second sidebar on the right. If you switch to Single sidebar from the top bar, both tabs show in one Editor Panel on the left.
Learn more on how to edit elements style on Elements Styles and changing layouts on Elements Layout.
Layers Panel
Section titled “Layers Panel”The Layers panel gives you an overview of the structure of your page. This helps you understand the parent / child relationship between elements and helps you easily locate and organize elements by dragging and dropping elements in the tree.
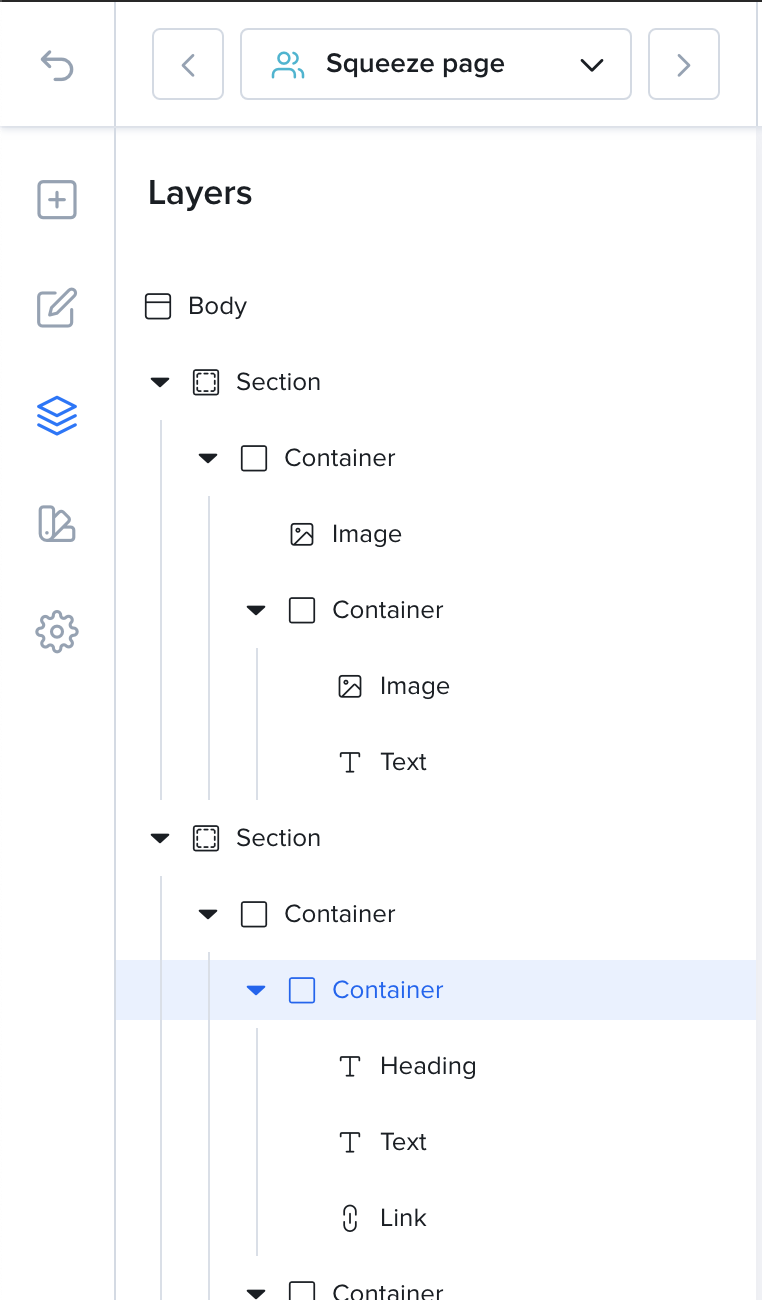
Layers Panel
Styles
Section titled “Styles”Click Styles on the left sidebar to open your Funnel styles. This allows you to update the style across all your funnel pages while also previewing what your styles look like inside the page builder.
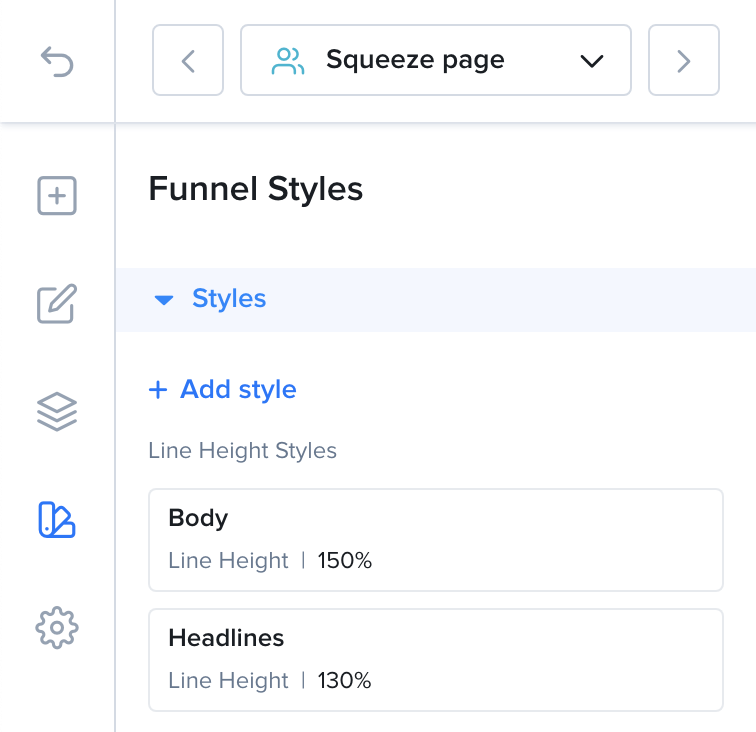
Funnel Styles inside the Page Builder
Contents and Simple Mode
Section titled “Contents and Simple Mode”On stores, you can turn on Simple mode from the left sidebar. Simple mode gives you a simpler interface to change your page content faster. In Simple mode, the Edit and Layers sidebars are replaced by Contents.
The Contents sidebar lists the sections of your page. From there you can:
- Drag sections to reorder them
- Rename a section
- Hide or show a section with the eye icon
- Delete a section
Turn off Simple mode to go back to the default page builder. The Single sidebar / Dual sidebars option is not available in Simple mode.
Page Settings
Section titled “Page Settings”Clicking Settings on the sidebar will open the page settings. From here, you can edit the page details, SEO information and add custom HTML code.
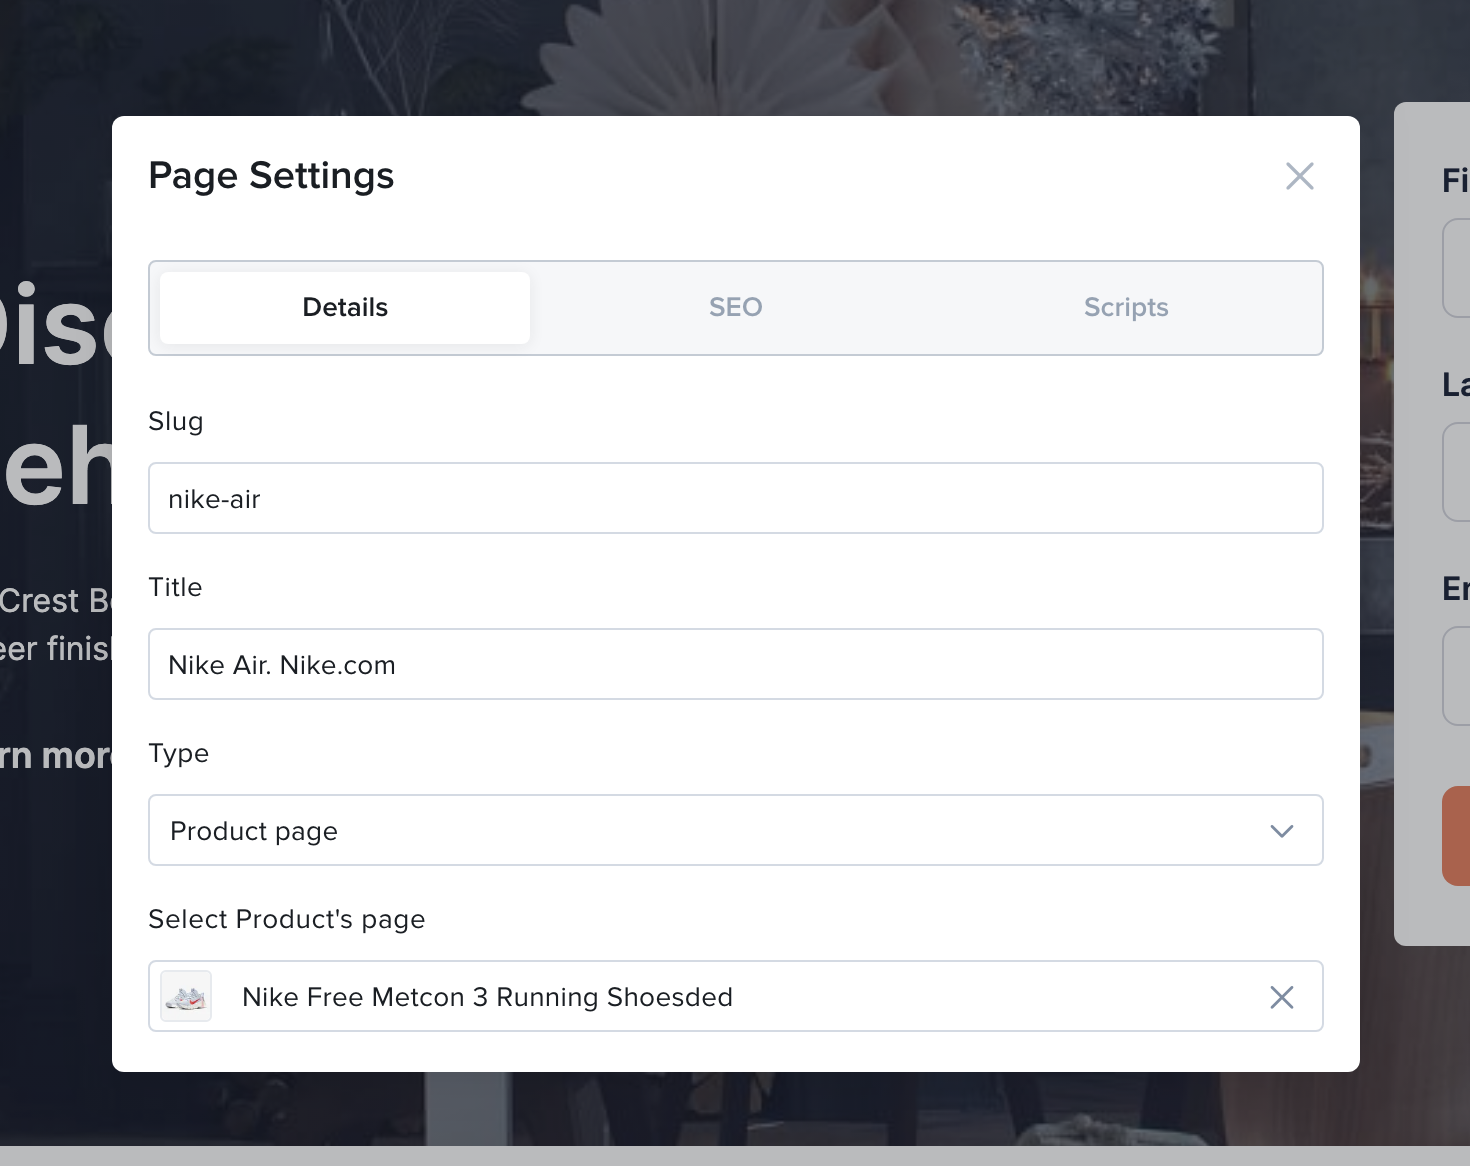
Page Settings
Under the Details tab, you can change the following options:
Details
Section titled “Details”- Page URL - This is a unique character string that will be used in the URL to link to this page. The string can only have alphanumeric characters and dashes.
- Title - The title of the page. This title is only used internally.
- Type - The page type defines the purpose of this page in the funnel. You can learn more about Funnel Page Types here.
- Allow visitors to directly access this page - Some pages, like upsells, normally only open after a purchase. Turn this on to let visitors open the page directly. This option only shows for those page types, in funnels without a checkout page.
To link a product to your page, use the product dropdown in the top bar. See Top Bar below.
Under the SEO tab, you can add search engine optimization related information.
- Title - This is the title of the page that shows on your browser tab and in search engine result pages.
- Description - This is a description text that search engines use to understand what your page is about. Search engines often use it for the snippet in search results.
- Keywords - Keywords for your page, separated by commas. For example:
key1, key2. - Featured image - The image shown when your page is shared on social media.
Custom HTML
Section titled “Custom HTML”You can add your own custom HTML code to your page:
- Header scripts - Added to the head section of the page.
- Footer scripts - Added at the end of the page, right before the
</body>tag.
Top Bar
Section titled “Top Bar”
Page Builder Top Bar
The top bar has several tools that help you when building funnel pages. Let’s go over them from left to right.
- The back arrow takes you back to the funnel builder or to the page where you came from.
- The dropdown with the page name lets you access any page on the funnel.
- The product dropdown lets you change the product that this page is pulling data from. It shows in funnels, on page types that can have a product, such as product, upsell and downsell pages.
- The
Edit productbutton lets you edit the connected product without navigating away from this page. If no product is linked yet, clickAdd productto create a new product and link it to the page. You can learn more about this in Data Binding. - The eye icon hides the sidebar and the X-Ray and lets you preview the page without leaving the builder. Note that some functionality may not be available in this preview mode. If you want to preview the page behavior, click the
Savebutton then thePreviewbutton at the top right of the page. - The devices icons let you preview the look of your page in different device types. Learn more on how you can edit your pages for different devices under Responsiveness.
- The
UndoandRedoicons are self explanatory. Simply click them to undo and redo your actions. You can also use the keyboard shortcutsCMD or CTRL + Zto undo andCMD or CTRL + Shift + Zto redo. - The
Single sidebar/Dual sidebarsbutton switches between one sidebar and two sidebars for editing elements. - The
X-rayicon lets you show and hide an outline around elements in the page. This can be handy if you are not sure how an element is positioned on your page. - The
Popupsbutton opens a menu that lets you manage your funnel popups. ClickAdd new popupto create one. You can then link your buttons to the popups that you create here. - The
Previewbutton lets you preview your page in a new tab. Your funnel must be published first. Make sure you save your funnel before clicking Preview. - The Save button saves your funnel.
Content Area
Section titled “Content Area”
Page Builder Content Area
The content area is where you build your page. It is a real time representation of what your page will look like once published.
You can drag and drop elements around. Double click texts to edit them or select elements and change their settings on the sidebar.
To zoom out and get a better view of your page, pinch on your trackpad or use ctrl + Scroll.
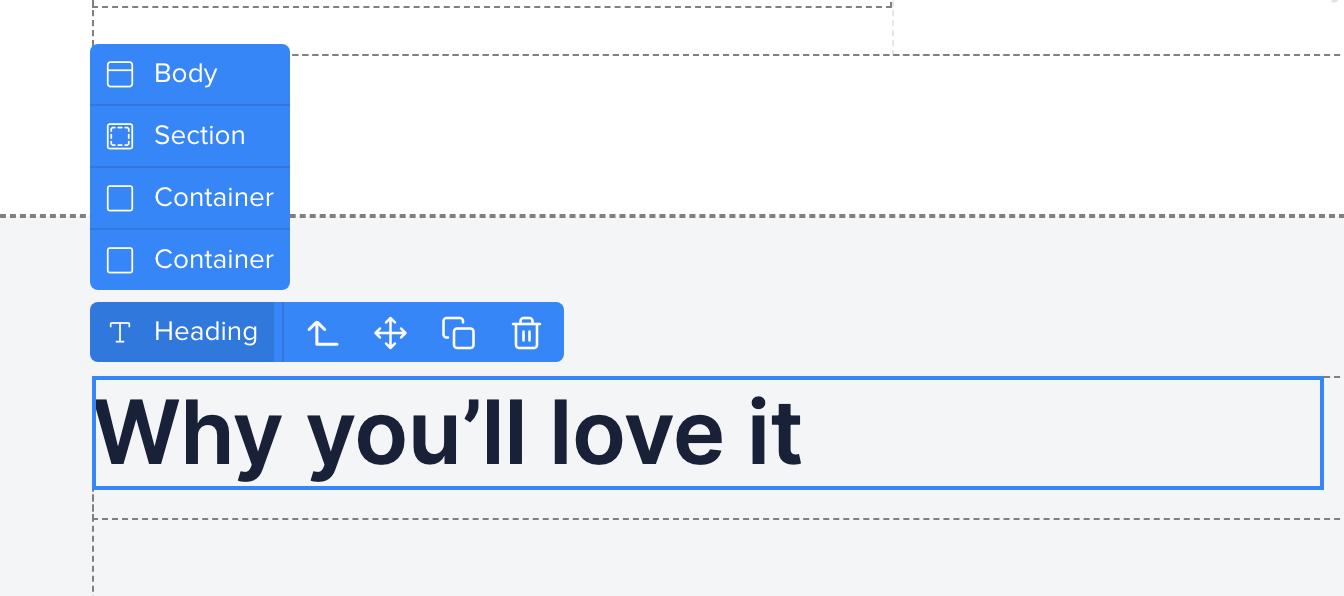
Once you select an element, a menu shows above it. From this menu you can select its parent, drag it, duplicate it, copy it, copy its styles or delete it. You can also drag any element around by directly clicking on it without using the menu.
Keyboard Shortcuts
Section titled “Keyboard Shortcuts”Click Shortcuts on the left sidebar to see all the keyboard shortcuts. On Windows, use Ctrl instead of CMD and Alt instead of Option.
| Action | Shortcut |
|---|---|
| Save | CMD + S |
| Undo | CMD + Z |
| Redo | CMD + Shift + Z |
| Search styles | CMD + K |
| Duplicate | CMD + D |
| Cut | CMD + X |
| Delete | Backspace |
| Deselect | Esc |
| Previous sibling / Next sibling | Up / Down arrow |
| Parent element / First child | Left / Right arrow |
| Enter container | Enter |
| Copy styles | CMD + Option + C |
| Paste styles | CMD + Option + V |
| Flex horizontal | Option + H |
| Flex vertical | Option + V |
| Spacing indicators | Hold Option and hover |
On the next page we’ll go over the different types of elements that make up your pages.