Create an E-Commerce Funnel
Let’s create an e-commerce funnel to sell your product.
Prerequisites
Section titled “Prerequisites”Before creating an e-commerce funnel, you need to have the following:
- A product to sell. Learn how to add a product here.
- A payment method added to your Payment Gateways.
When creating the funnel, feel free to open any page to edit it in the Page Builder.
Creating a New Funnel
Section titled “Creating a New Funnel”To create a new funnel, click on Funnels on the sidebar then on New funnel.
On the Choose your template screen, pick how you want to start:
Blank Templateto start from scratch.AI Templateto let AI build the pages from your product info. Learn more in AI Funnel Builder.Niche Templateto start from a funnel pre-built for a niche.- Any template from the
Templateslist. You can filter templates byPricingandCategory, and search by name.
Then click Next.
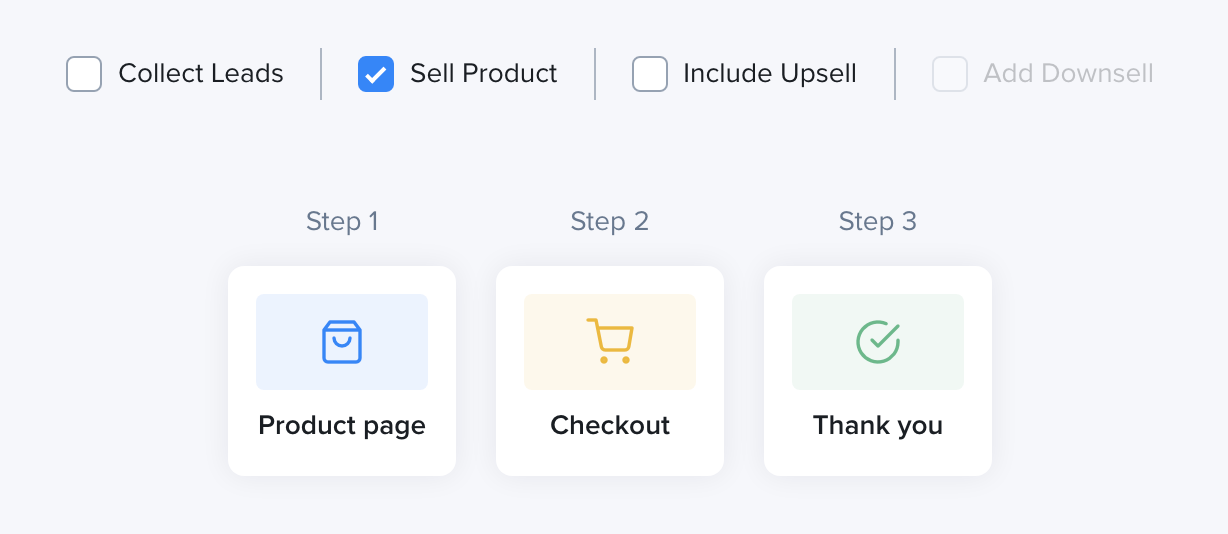
Funnel Creation
If you picked a paid template that you don’t own yet, you will be asked to buy it first.
Choosing the Funnel Pages
Section titled “Choosing the Funnel Pages”If you picked a template, the Select funnel pages step opens.
Under Choose your checkout style, pick one option:
Separate checkout page(default): customers go to a dedicated checkout page.Checkout on Product Page: customers buy directly on the product page. This is ideal for quick purchases and COD.
Under Included pages, you can see the pages of your funnel. Some pages, like the Upsell and Downsell pages, are optional. Click the + or - icon on a page to add or remove it.
Click Next.
If you started with a Blank Template, this step is skipped.
Naming the Funnel
Section titled “Naming the Funnel”Enter a Funnel name and a Funnel URL.
You can also choose a currency for your funnel in Select currency. If you don’t, the funnel uses your account currency. Learn more about Currencies.
Click Open funnel.
You have now created a funnel and opened it in the funnel builder.
The Product Page
Section titled “The Product Page”The first page that we need to go over is the product page.
Select the product that you would like to sell from the Select Product dropdown on the product page.
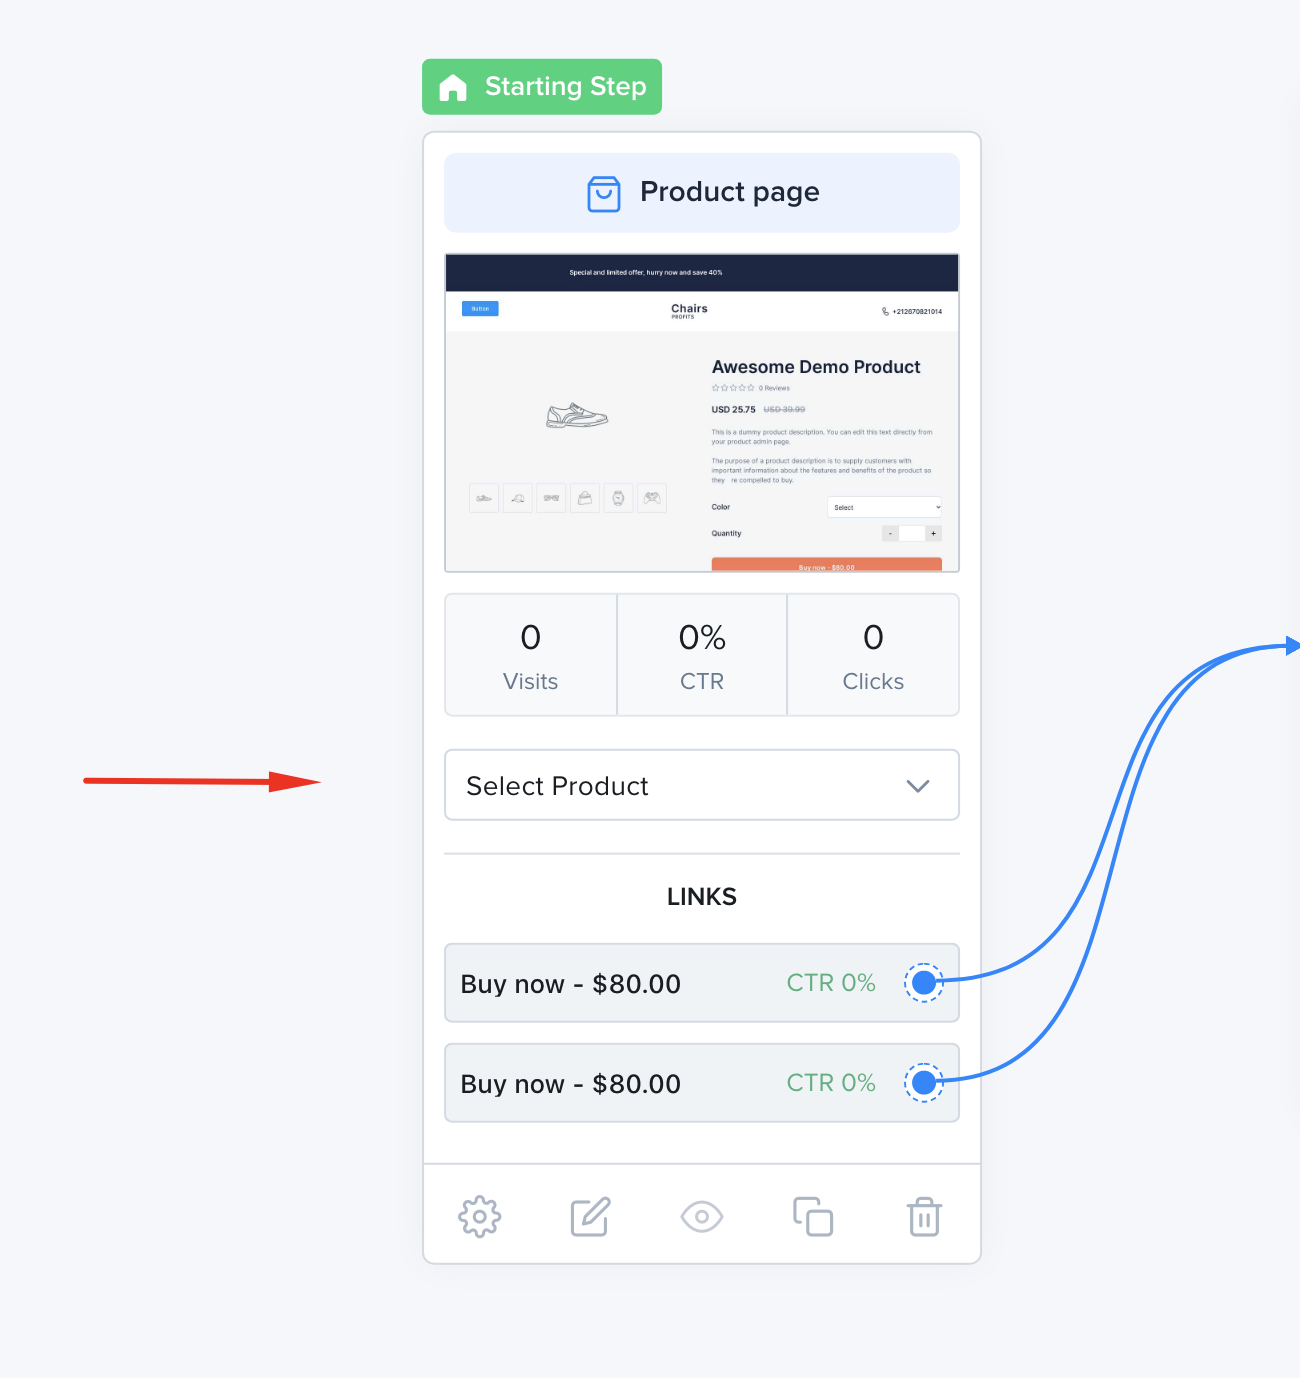
Select a product to sell
If you have filled all the product properties when adding your product, this should be enough to have a good looking product page.
You can also open the page in the Page Builder to edit its content to your liking. Check out the Page Builder section to learn more.
The Checkout Page
Section titled “The Checkout Page”The Checkout Page allows the customer to add their personal information and pay.
If you have added your Payment Gateway, your checkout page should be all set. You can also open the page in the Page Builder to edit its content to your liking. Check out the Page Builder section to learn more.
Adding an Upsell
Section titled “Adding an Upsell”Right now, the customer will directly land on your Thank You page after purchasing. Let’s add an Upsell Page to increase our average order value.
To do that, open the Build & Design tab, click the + icon at the bottom right corner of the screen and choose Upsell Page.
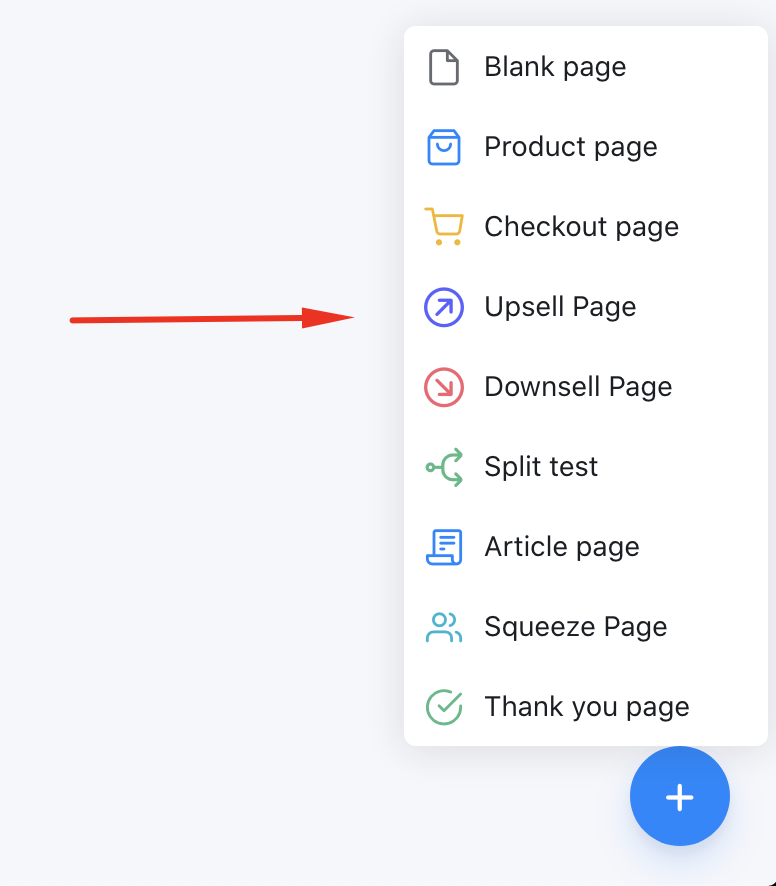
Adding an upsell page
Just like the Product Page, the Upsell Page needs to have a product linked to it. Click on the dropdown and choose the product that you would like to offer as an upsell.
Linking the Upsell Page
Section titled “Linking the Upsell Page”Now that our Upsell Page is ready, we need to connect it between the Checkout Page and the Thank You Page.
Doing so is as easy as dragging and dropping the blue dots.
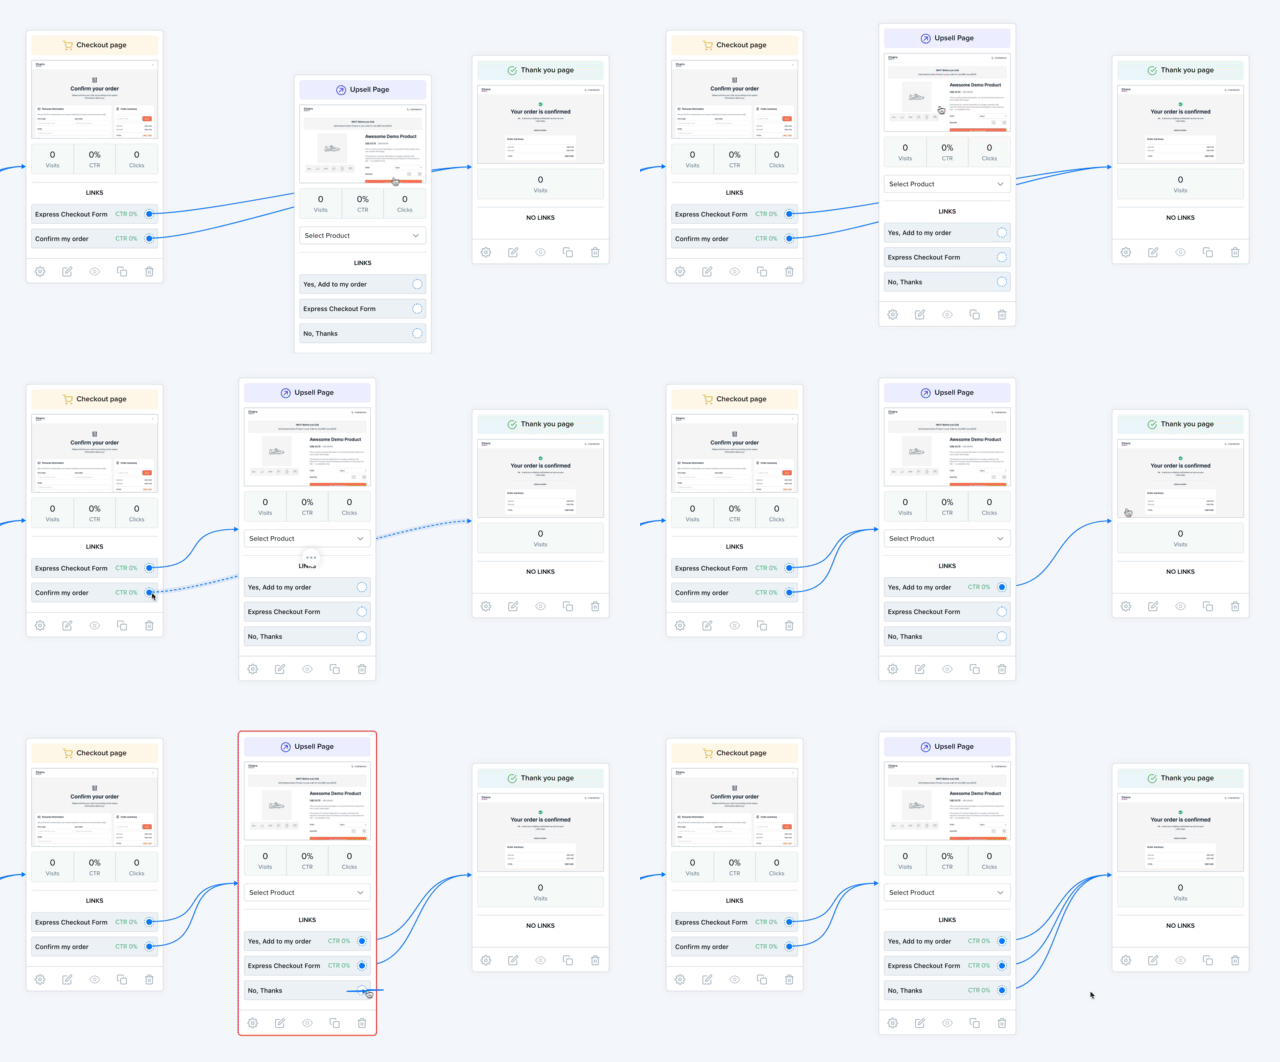
Linking the Upsell Page
Congratulations! You have just set up an e-commerce funnel to sell a product and its upsell.
Recommendations
Section titled “Recommendations”- Learn more about building pages in the Page Builder section
- Learn about Split Tests
- Learn how to setup a lead generation funnel